Well, I now have one of the best looking 3D printers that is available today. It was delivered as a kit and took about three weeks to get it painted, soldered, assembled, and printing it’s first 3d object. 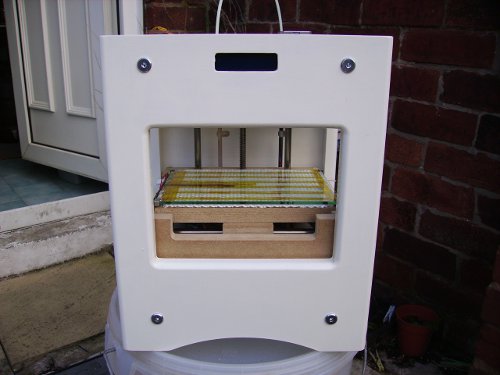 This 3D printer is called the SUMPOD and it was one of the cheapest 3D printers available at the time, offered as one of the perks in the SUMPOD IndieGoGo campaign.
Cheap to buy did not mean cheap in construction. This 3D printer was expertly designed, with a case that is strong and rigid, providing a good solid foundation to produce fine quality 3D prints. The SUMPOD’s strong rigid construction also allows it to be re-purposed, changing it from a 3D printer to a router or mill. It’s milling capability is demonstrated in the youtube clip at the end of the post at 3D-printer-kt.com. I’m tempted to do some milling myself but I think the noise will be too much for the other household members.
 I’ve tested it’s 3D printing capability and have been very pleased with the results. The Sprinter firmware was easy to configure and install and for the host software, I used ReplcatorG. RepSnapper was used to calibrate the filament extrusion while Skeinforge was used to generate the G-code. Skeinforge was the most difficult application to master, mainly because the amount of options available to configure. All the printing tests I’ve done have been based on models downloaded from the Internet which was a good way to test and configure the printer, and you have someone else’s print to compare to. I have since designed a model of my own for printing using a 3D application called OpenScad. Since I have some programming experience I thought I’d give it a go.
The SUMPOD 3D printer works great out of the box, capable of printing high resolution models as good as any other 3D printer out there in my opinion. Having said that, I will be looking to make improvements to some parts of the printer, I’ve already added a heated build platform and a Z axis handle. I’ll be posting the details of those improvements very soon.
To complete the introduction to the SUMPOD, there are more images after the jump.
-
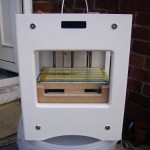
- SUMPOD 3D Prototyping Printer

-
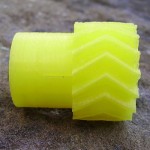
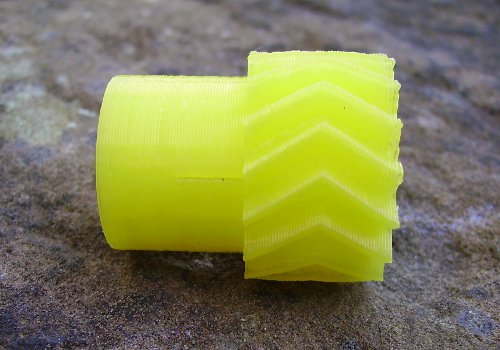
- Printed Herringbone Gear

-
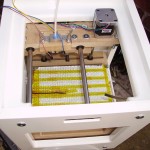
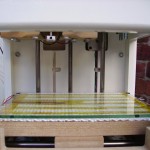
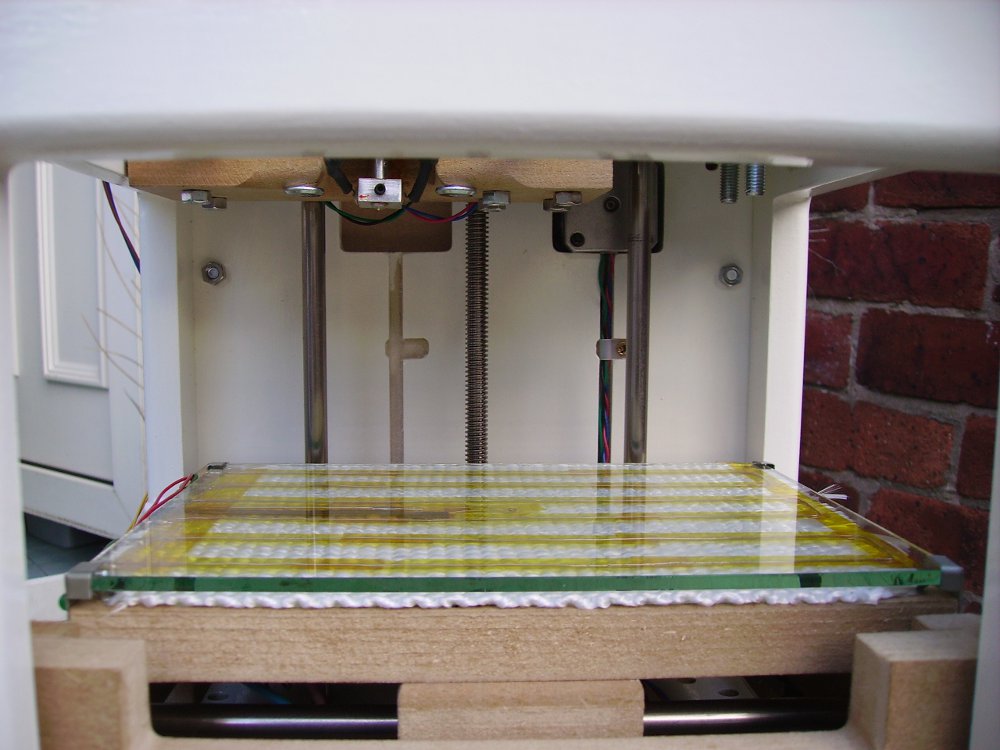
- SUMPOD 3D printer top view

-
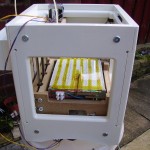
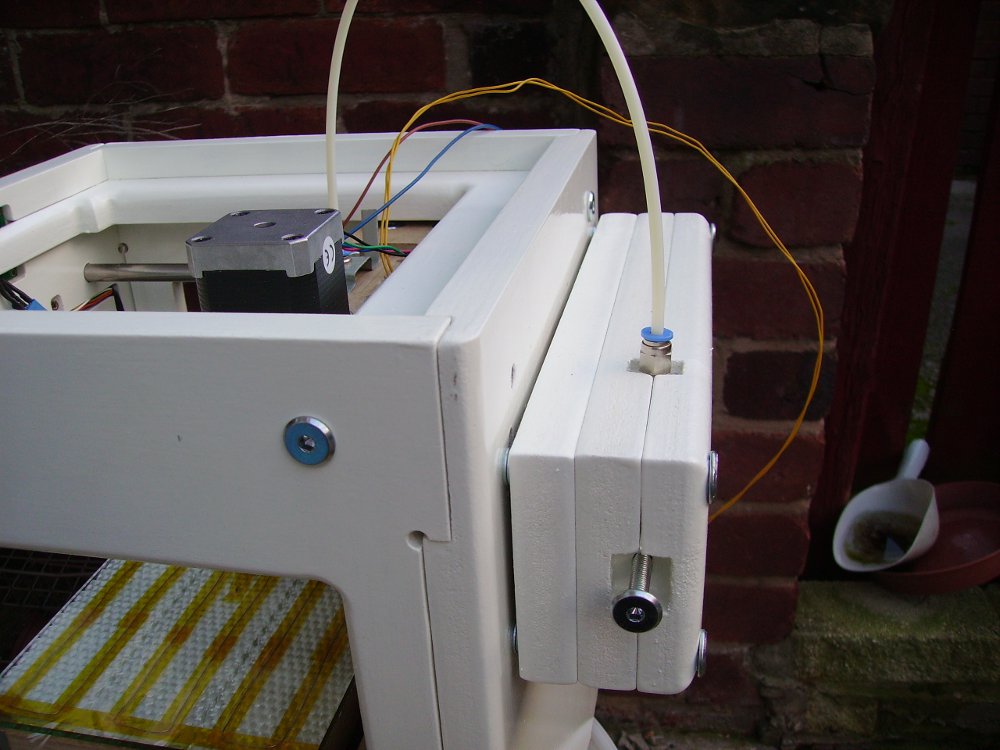
- SUMPOD 3D printer side view
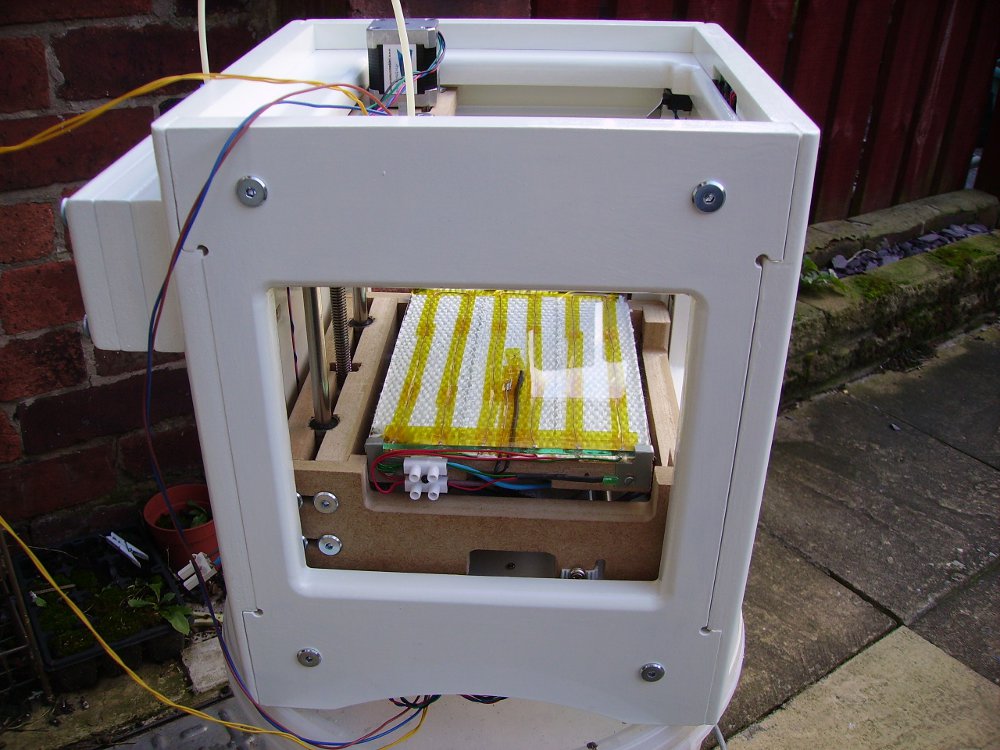
-
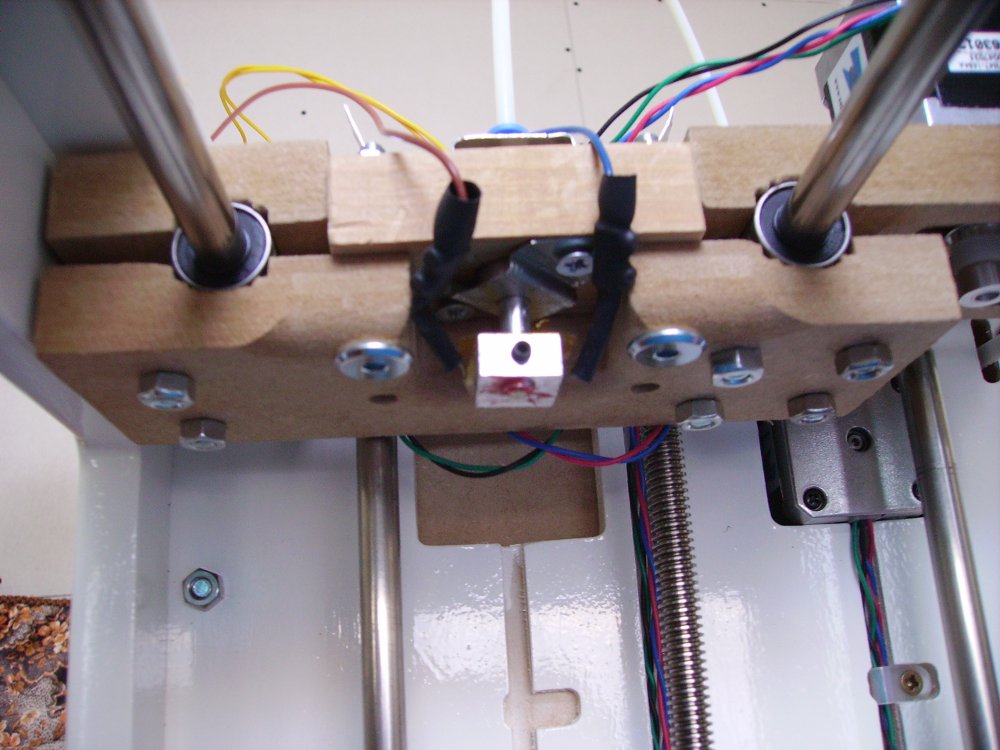
- SUMPOD 3D printer X axis
-

- SUMPOD 3D printer Y axis
-
- SUMPOD 3D printer extruder
-
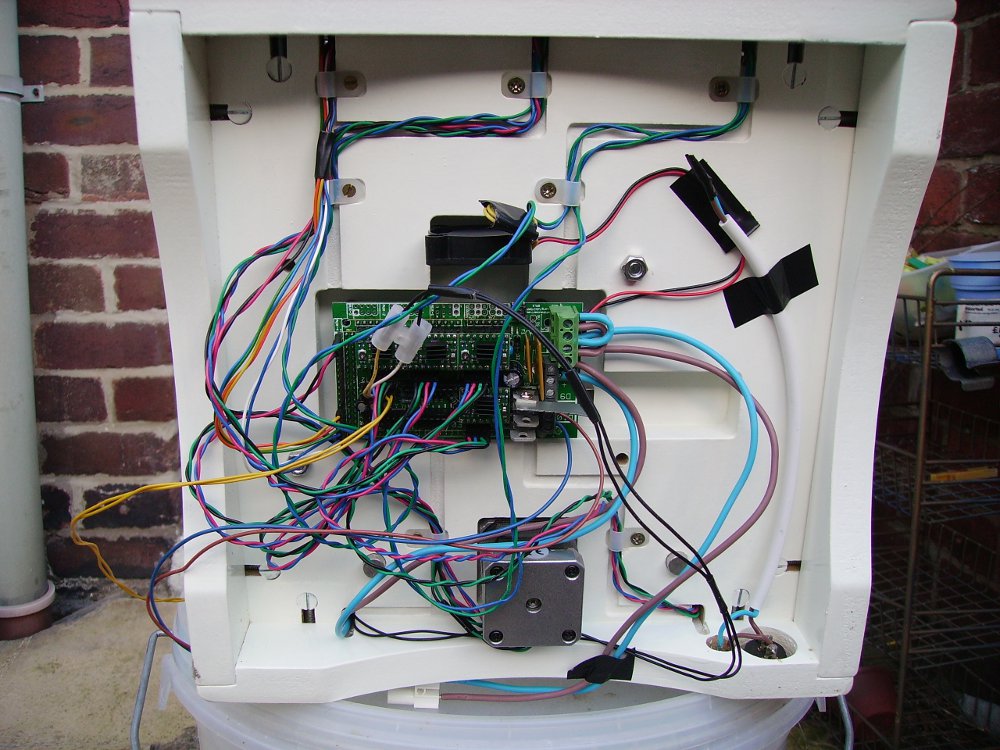
- SUMPOD 3D printer Ramps 1.3

hi, love your finished SUMPOD, I’m 3 weeks build behind you – jusy one my Y and X axis and about to start on the electronics. Can I ask if you could do an article on the ordering, building and running of your heated bed? How good is this in terms of heating, warping (if any) and for the finished results? Could you also link to certain parts to order if these are at hand? many thanks in advance
There will be a detailed building a heated bed platform walk through in about 2 weeks. Until then, you can get an idea of what’s involved by reading this thread http://sumpod.com/forum/post/heated-build-platform-prototype. The bed I’m using now has eliminated warping issues, at least on the stuff I’ve printed so far, and the glass is great for PLA to stick to.
Hi,
can you please post your generated gcode?
Thanks,
Go to the post: Getting Your First 3D Print to download the zip file containing a test gcode.
After 5.5 months I still don’t have a printer and Richard won’t give me my money back avoid him buy a robo3d they’re better value for the same spec. I like many others will be taking legal action
Richard is a crook and the net I understand is closing in on him.
He has conned many overseas companies by not supplying paid goods and is a well known fraudster.
Avoid at all costs
I ordered in May 2013 a machine (mega sumpod) worth £ 2800, delivery time was four weeks after multiple mail and telephone contact Mr. sum has always found excuses and repouser the date of delivery, I decided on 07/29/13 to demand repayment, he agreed but also behind and making excuses, there are now six months, I have taken steps. I am not alone in this case with sumpod the company (here other victim http://sumpod.proboards.com/thread/23/why-finally-cancelled-order) I recommend you don’t to order from him or to trust him, he is a thief and a liar.”